Publishing PWA to Microsoft Store
As you might have noticed, this blog is a PWA. Since, it is now possible to publish PWAs into Windows Store I thought why not publish my blog. It is not super useful to anyone but hey, it is a PWA and why not try it. It went well and the app was published to Windows Store. I later removed it as it was just a demo app. Here are the steps I followed to publish my PWA.
1. Reserve an app name
First you will need a PWA website and a Microsoft Developer Account. Once you have them, the first job is to create an app in the Microsoft Partner Centre website.
- Go to Microsoft Partner Centre dashboard.
- Navigate to the Windows & Xbox section.
- Click on “Create a new App” and reserve a app name.
2. Build your PWA
Our next job is to package the PWA into an .appx file. This can be easily done using the PWA builder. PWABuilder is a Microsoft funded open source project which provides options to pack your PWA for various app stores, add features to your PWA, etc…
Before we continue, you need to ensure two things in your website’s manifest.
- Ensure that the app name you reserve and the short_name in your site’s manifest file are the same.
- Have a 44x44, 50x50, and 150x150 icon for your manifest. Otherwise, the PWA builder will not use your website’s icon. This is due to a issue and is expected to be fixed in near future.
Here are the steps to package your PWA for Windows Store.
- Go to PWA Builder website.
- Enter your website URL and wait for the scan to complete.
- Once the scan is successful, you will be presented with a screen like the one below.
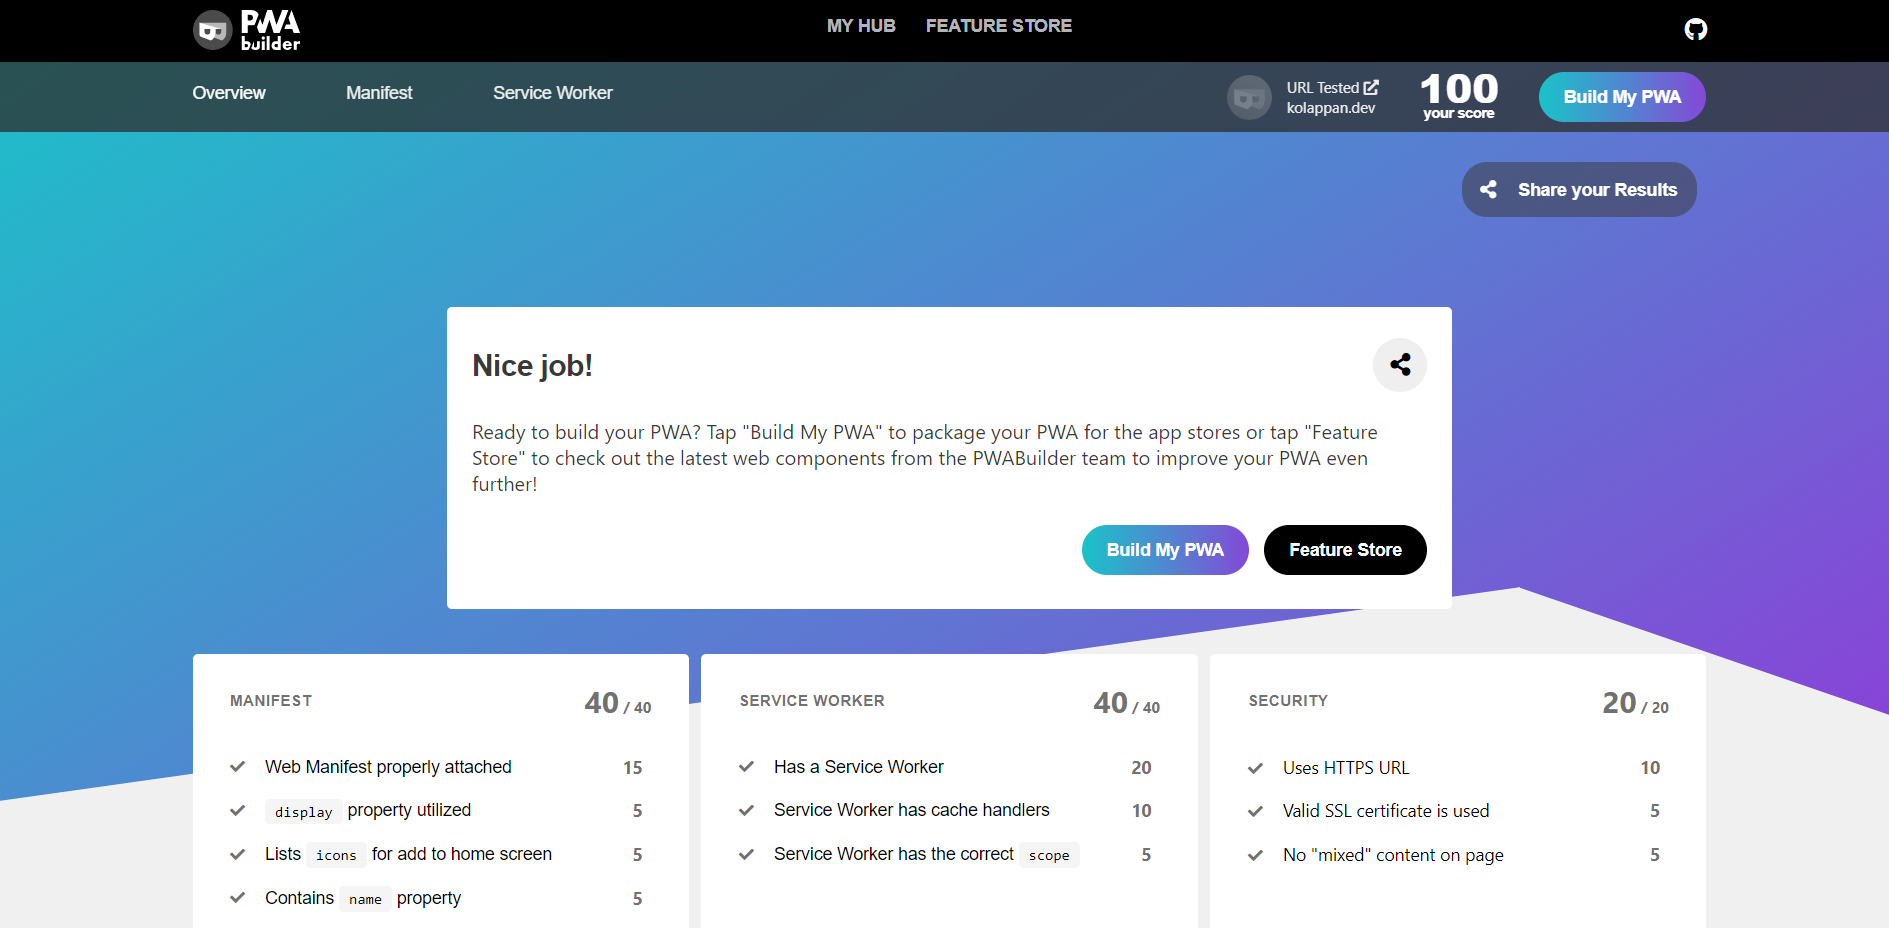
- Click on the “Build my PWA” button
- When you try to download the app for Windows you will be presented with the following screen.
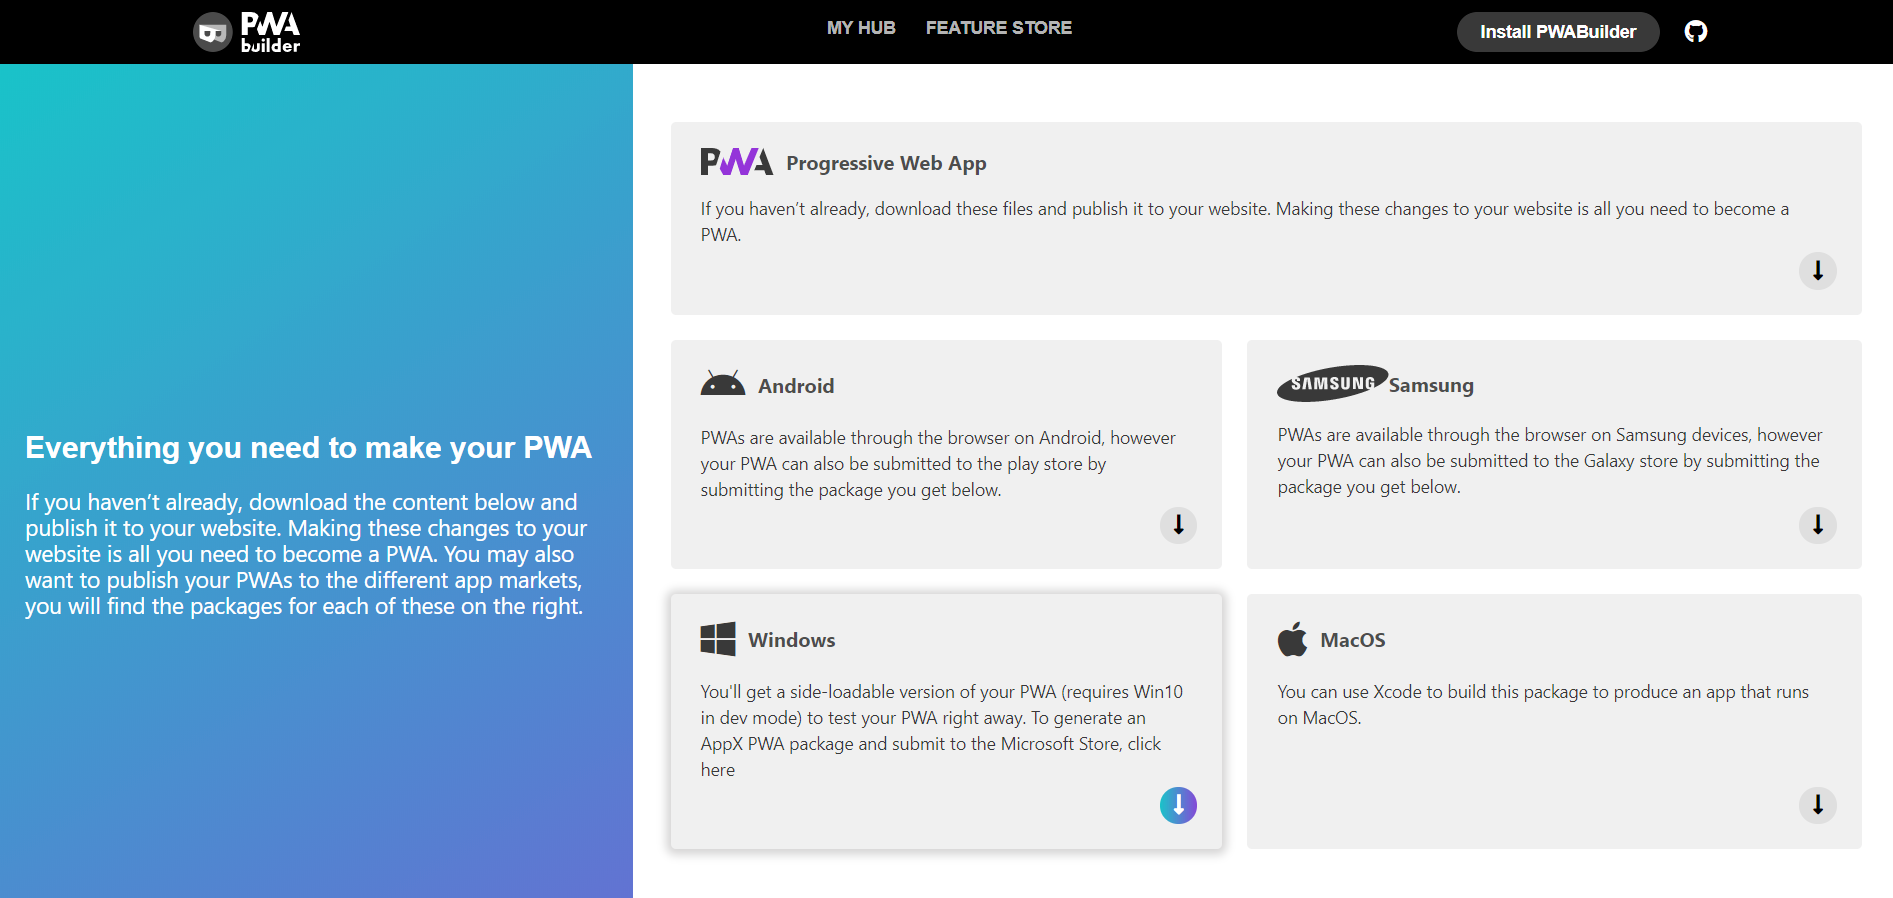
- Choose Windows and enter the details from your Microsoft Partner account. While entering the version number leave the last digit or fourth part of the version number as zero and only use parts (ex: 1.12.123.0 and not 1.12.123.4). Otherwise you will encounter error when trying to upload the Appx to Windows Store.
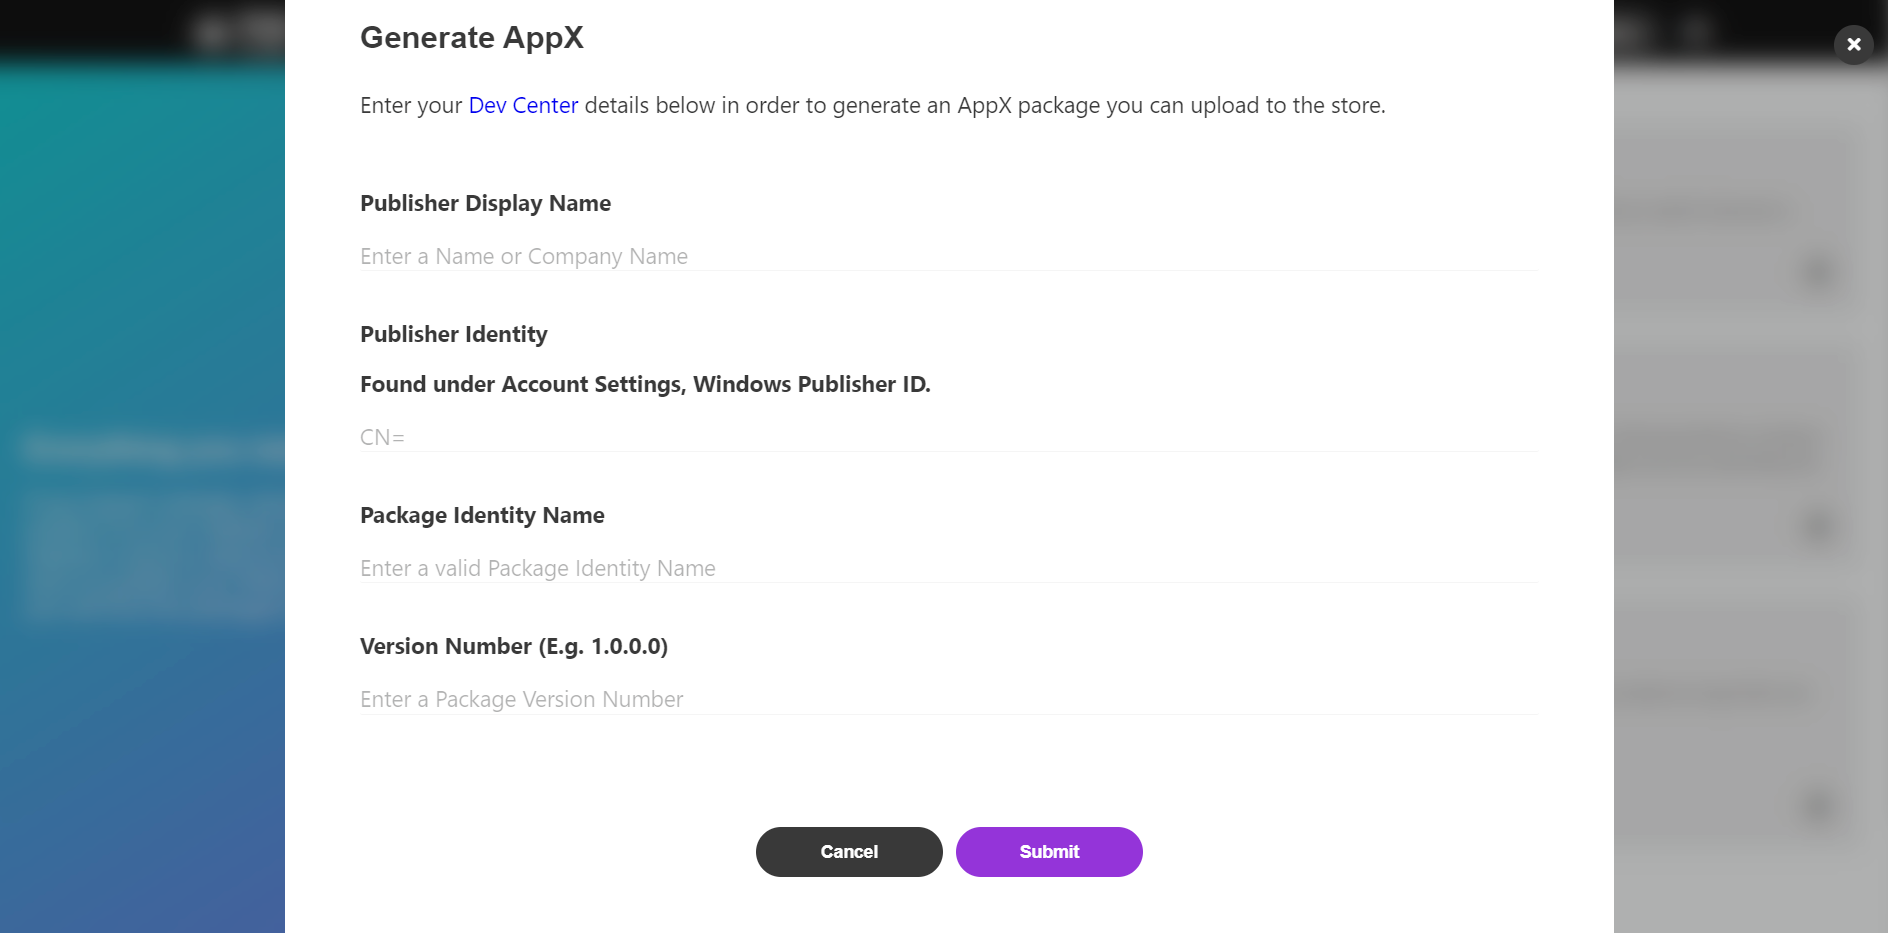
- Now once you click on Submit, a zip file will be downloaded which contains the .appx file.
3. Uploading to Microsoft Store
- Go to your app’s page in the Microsoft Partner Centre.
- Create a new submission for your app and start filling out the details like pricing, store description, etc…
- In the zip file you downloaded from the PWA Builder earlier, you will find a “windows.appx” file. Upload this file in the Packages section of the submission process.
- Once you have completed all the details, submit the app to the store. Your app will now be reviewed.
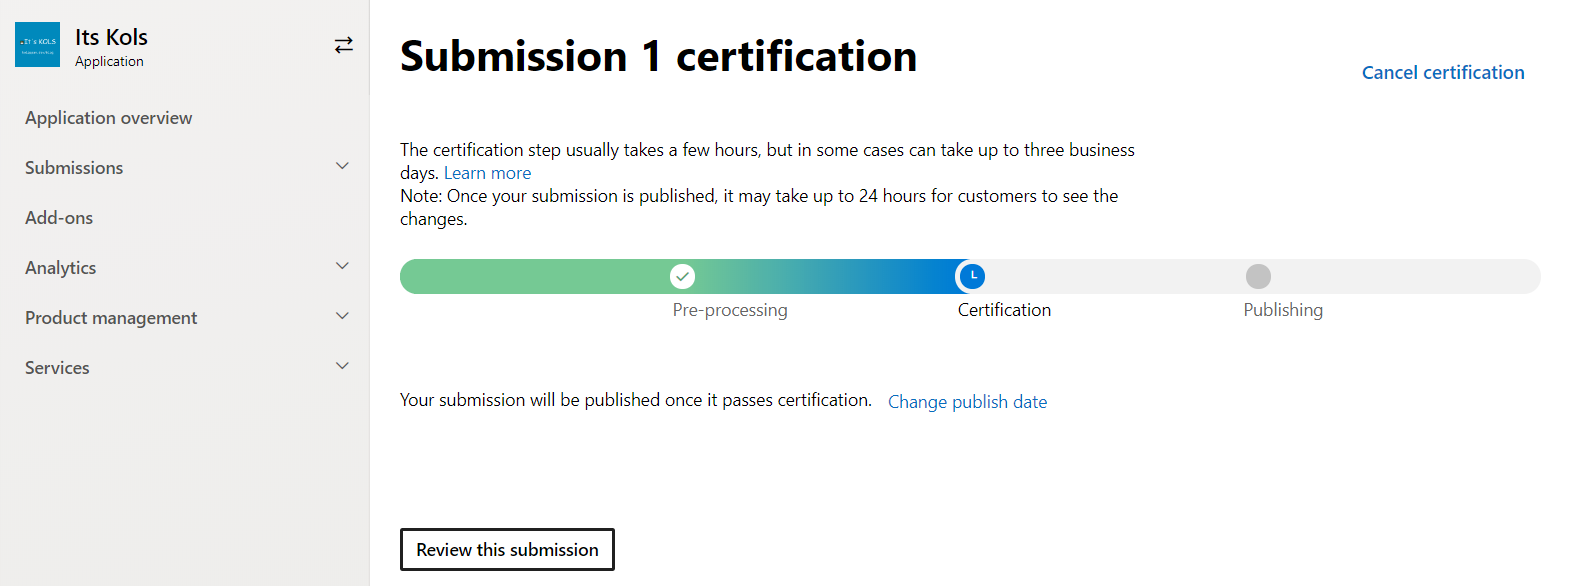
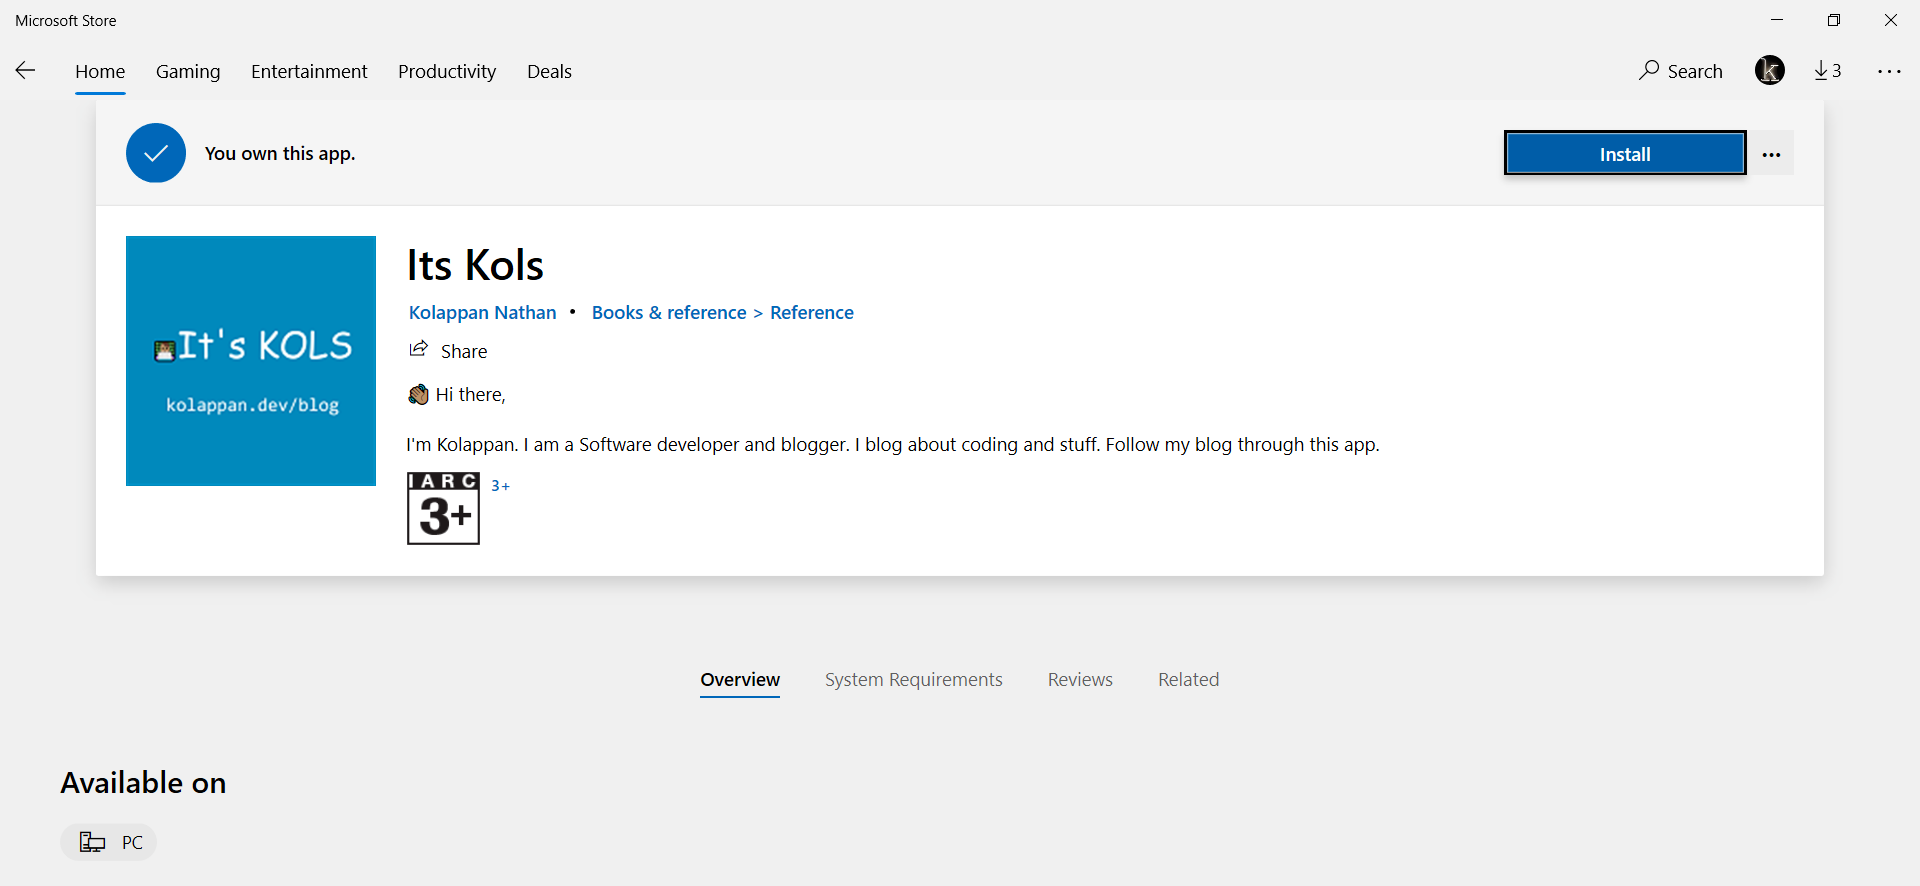
- Your PWA will be available to the public once the review is successfully completed.